I went and grabbed some wheel bearing grease this afternoon. I got the
bearings and seal installed and bolted on the caliper.
Wednesday, December 24, 2008
Saturday, December 13, 2008
Passenger side suspension done
Today I went and rented a ball joint press from Autozone and assembed
the passenger side suspension. I had to wrap a chain around the frame
and the jack to get the spring to compress. I have to pick up some
wheel bearing grease and then I can get the rotor and caliper on.
the passenger side suspension. I had to wrap a chain around the frame
and the jack to get the spring to compress. I have to pick up some
wheel bearing grease and then I can get the rotor and caliper on.
Sunday, September 14, 2008
Passenger side A-arms are done
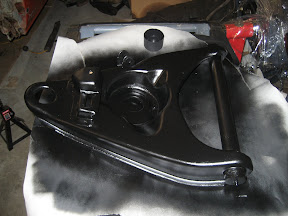
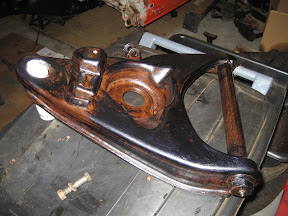
The passenger side upper and lower arms have been repainted, new bump stops installed and new cross shafts. The passenger side is now ready for ball joints. The drivers side arms still need to be painted. I just realized I got rid of my grease gun when we moved to Texas. I'm going to have to pick one up.
Installing new cross shafts
Bolting on the new lower cross shafts was quite a procedure. The only way I could get enough leverage was to start the threads by hand, mount the arm and then hold it in place with some straps. I put some red loctite on the threads and used my 24" crescent wrench to tighten the nuts.
Sunday, June 29, 2008
Lower a-arm cross shafts
I was starting to question whether it was worth the effort to change out the lower cross shafts. Once I got the first one apart I realized it was. One of the cross shaft bolts was broken and the seal all torn up.
Sunday, May 25, 2008
Lower A-arm u-bolt replacement
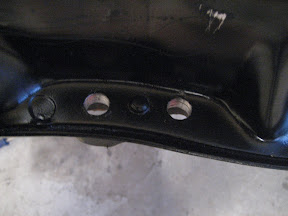
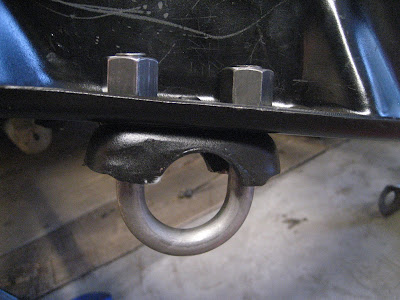
GM replaced the u-bolts that connect the lower a-arms to the cross member with much larger units. The bolts on my truck were 7/16" and the new ones are 9/16". I figured GM increased the size of these for a reason and I'm guessing these have never been replaced since my truck was built 44 years ago. So better safe than sorry. The old u-bolts look pretty wimpy next to the new bolts.

I had to enlarge the holes to accommodate the larger u-bolts.
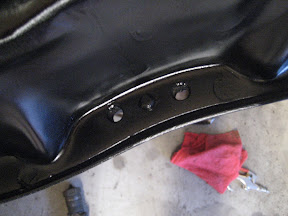
Here is the first one in place. Only three more to go

I had to enlarge the holes to accommodate the larger u-bolts.


Here is the first one in place. Only three more to go

Saturday, May 24, 2008
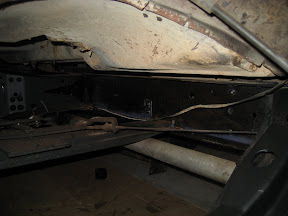
Grill / Radiator support panel rust repair
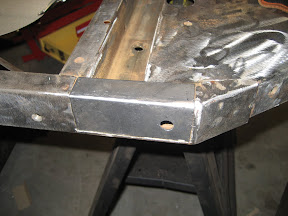
Today I repaired some rust on the Grill / Radiator support panel.
Monday, April 28, 2008
Removing cross shafts
Today I removed the cross shafts from the upper control arms so I can replace them with new ones. Man they were a bitch. I had go buy a huge cresent wrench from Harbor Freight to brake them loose. Next up are lower control arm shafts which look even harder to get apart.
Sunday, April 6, 2008
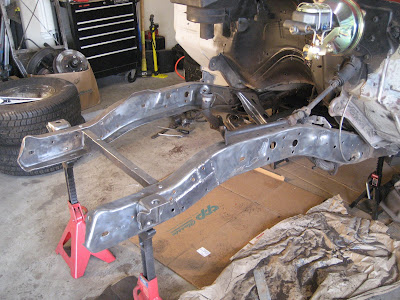
Suspension cross member bolted back on
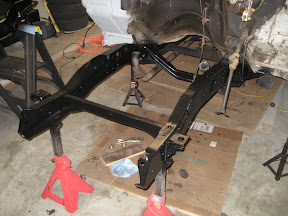
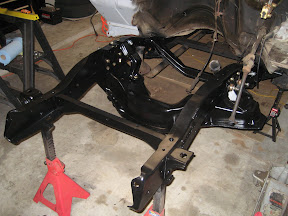
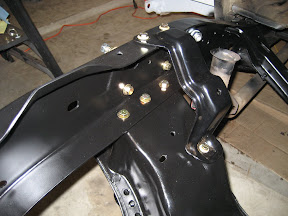
Today I bolted the cross member back onto the frame. I used all new grade 8 hardware. It might be a little overkill but I don't want to mess around with cheap bolts on a part of the truck where the engine and entire front suspension connects. Here is an interesting article on grade 8 hardware.
 |  |
Thursday, April 3, 2008
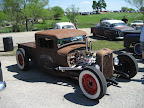
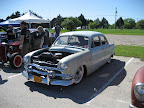
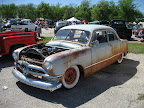
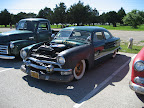
Lonestar Rod & Kustom Round Up
The Lonestar Round Up car show is this weekend so I am definitely not getting any work done on the truck on Saturday. This is a really cool car show featuring traditionally-styled american hot rods and custom cars. www.lonestarroundup.com
 |  |
 |  |
Slow progress right now
Between my daughters surgery and helping out more around the house because Cristy needs to rest I haven't had much time to work on the truck. I did go buy a bunch of grade 8 bolts ($45 bucks worth!) to bolt the front suspension back together.
Friday, March 14, 2008
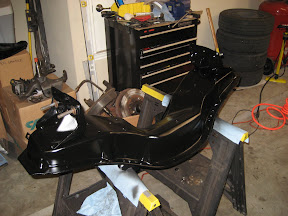
Final paint on the front suspension
Sunday, March 9, 2008
Lower control arm and frame rail
Thursday, March 6, 2008
Saturday, February 16, 2008
Primer on the frame rails
Saturday, February 2, 2008
Cleaned up and painted control arm
Wednesday, January 30, 2008
Saturday, January 26, 2008
More frame rail prep
Thursday, January 24, 2008
Choices for chassis paint
I have been trying to figure out what type of paint to use on the frame once I get it cleaned up. As luck would have it I went to lunch with a former co-worker (and fellow car guy) Steve Berry. My buddy Miguel and I call him 'Volvo Steve' because he is a Volvo nut. Just check out his web site and see for yourself. I was telling him where I am at on my project and he suggested I check out a company called Eastwood. He said that he used their chassis paint and rust converter on his car and was pleased with the results. I decided on their Satin Full Frame and Suspension Kit. It comes with a rust converter, rust encapsulating primer and a tough top coat called Chassis Black.


Subscribe to:
Comments (Atom)


